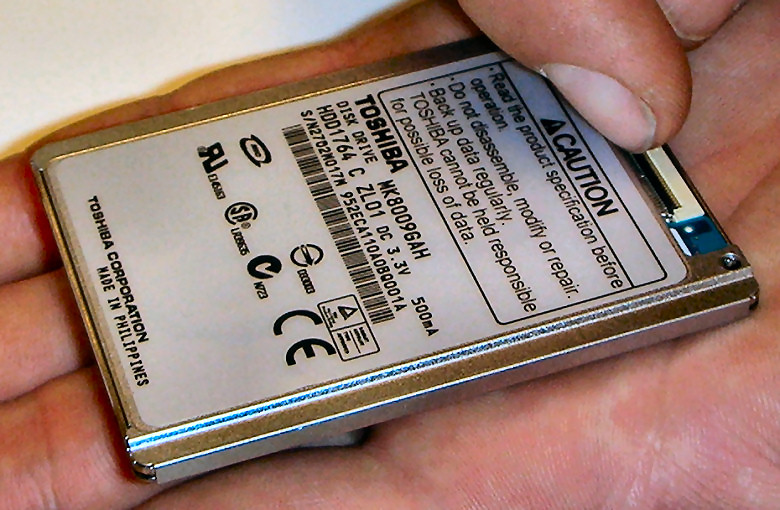
STEP 1: On a new Toshiba drive, the black strip may be in its closed position (laying flat).
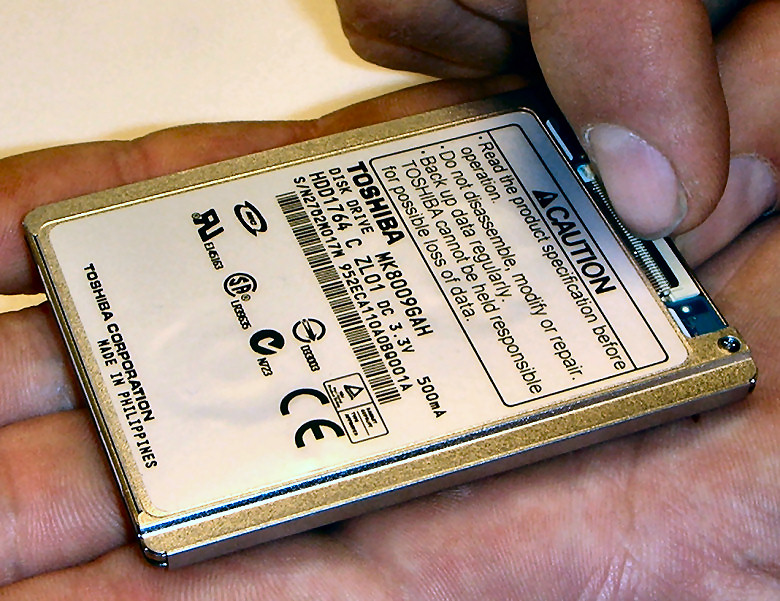
STEP 2: If this is the case, carefully pull the black strip back with your fingernail. You may need to use two fingers on each side of the black strip to pull it back evenly. The black strip is standing vertical when open.
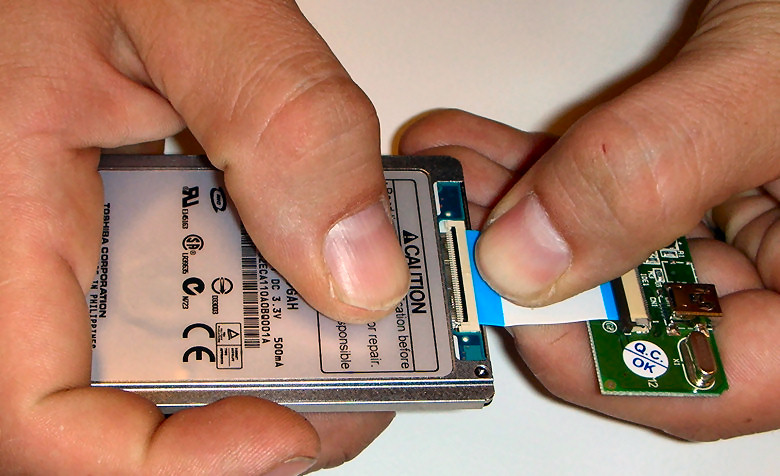
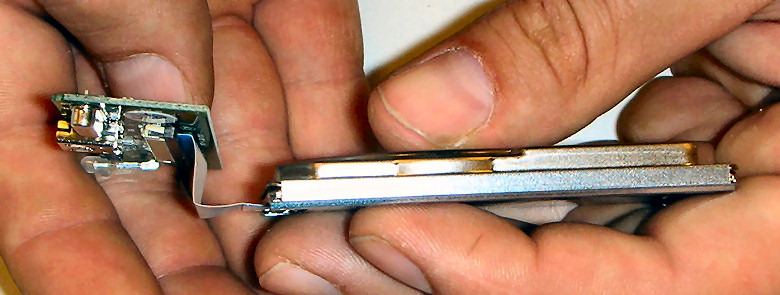
STEP 3: Align and place the end of the cable into the hard drive as shown. Push it into the drive's connector until it stops. Do not force the insertion or you may damage the cable/drive.
STEP 4: If you will be mounting the drive into the case permanently, push the black strip forward and flat to tighten the connection. If you are working with the drive temporarily, you do not need to close the connector.
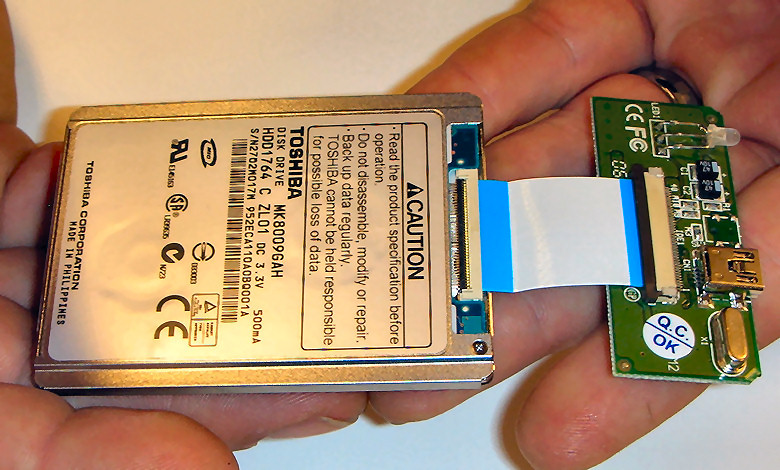
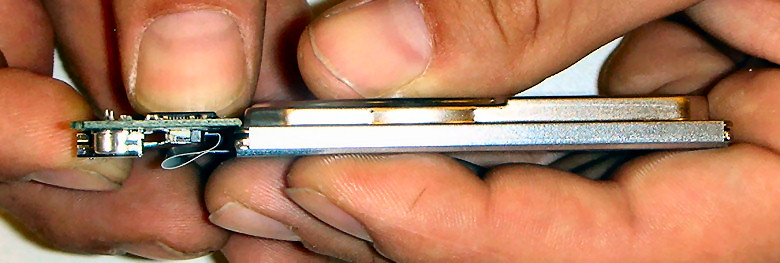
STEP 5: Without creasing it, carefully create an "S" curve in the cable.
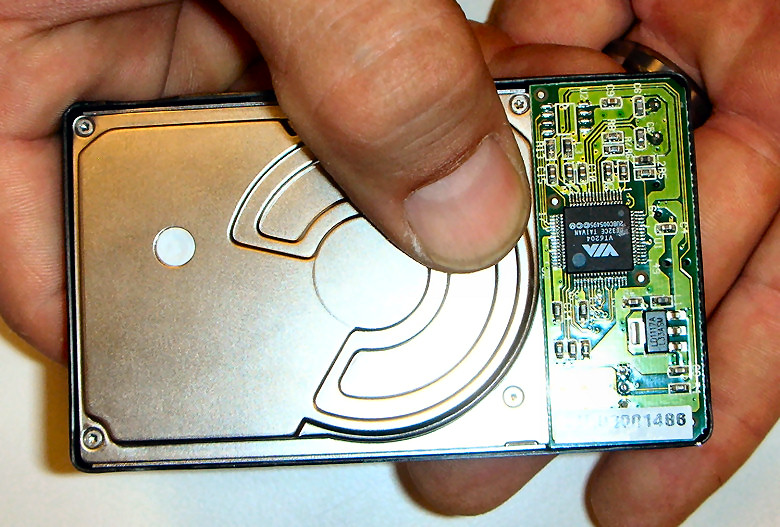
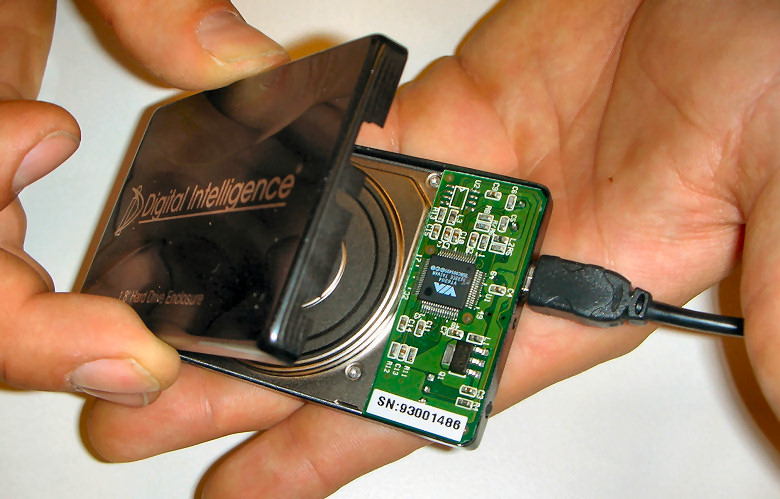
STEP 6: This is how the cable and interface board will fit behind the drive when it's inside the enclosure.
STEP 7: When inside the enclosure, notice that the drive is held securely by butting up against the interface board.
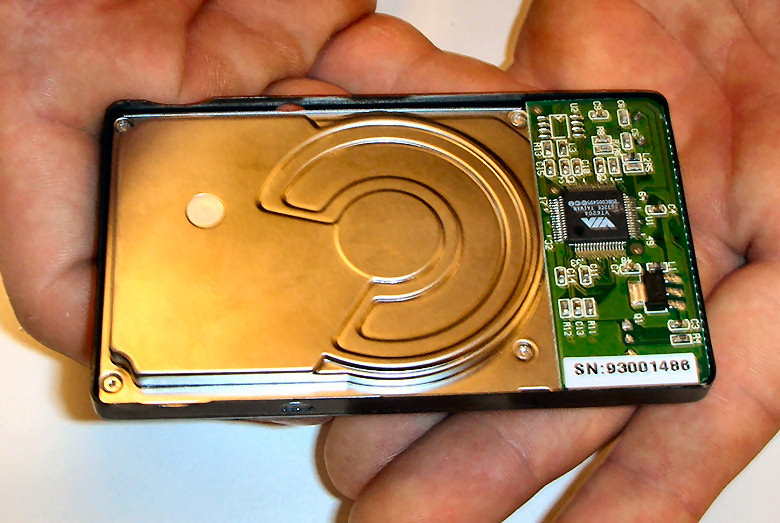
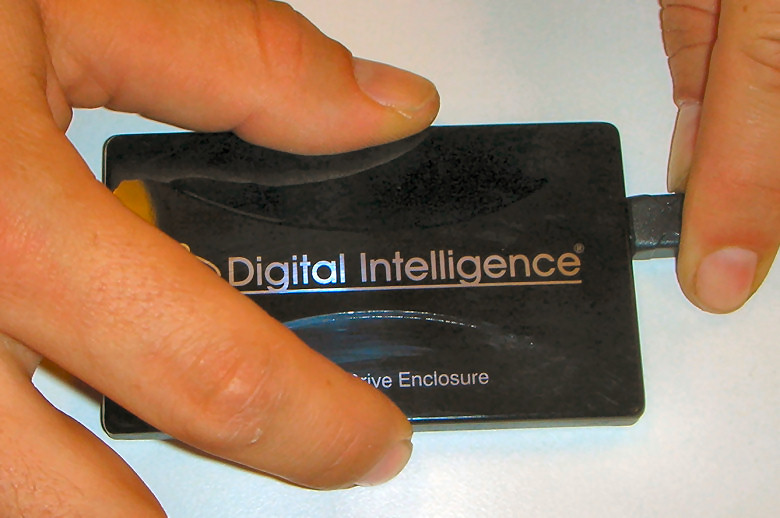
STEP 8: Hopefully your drive and interface board fit snug enough to remain in place when you let go of the components. You can try squeezing the ends of the enclosure together to get rid of any gap that may be present.
STEP 9: If you have problems with the components staying in place when you try put the cover on, take a disconnected USB cable and plug the appropriate end into the board to hold it in place while you apply the cover.
STEP 10: If the board slips out of position, you can carefully manipulate the board with the USB connector as you push down on the cover.
